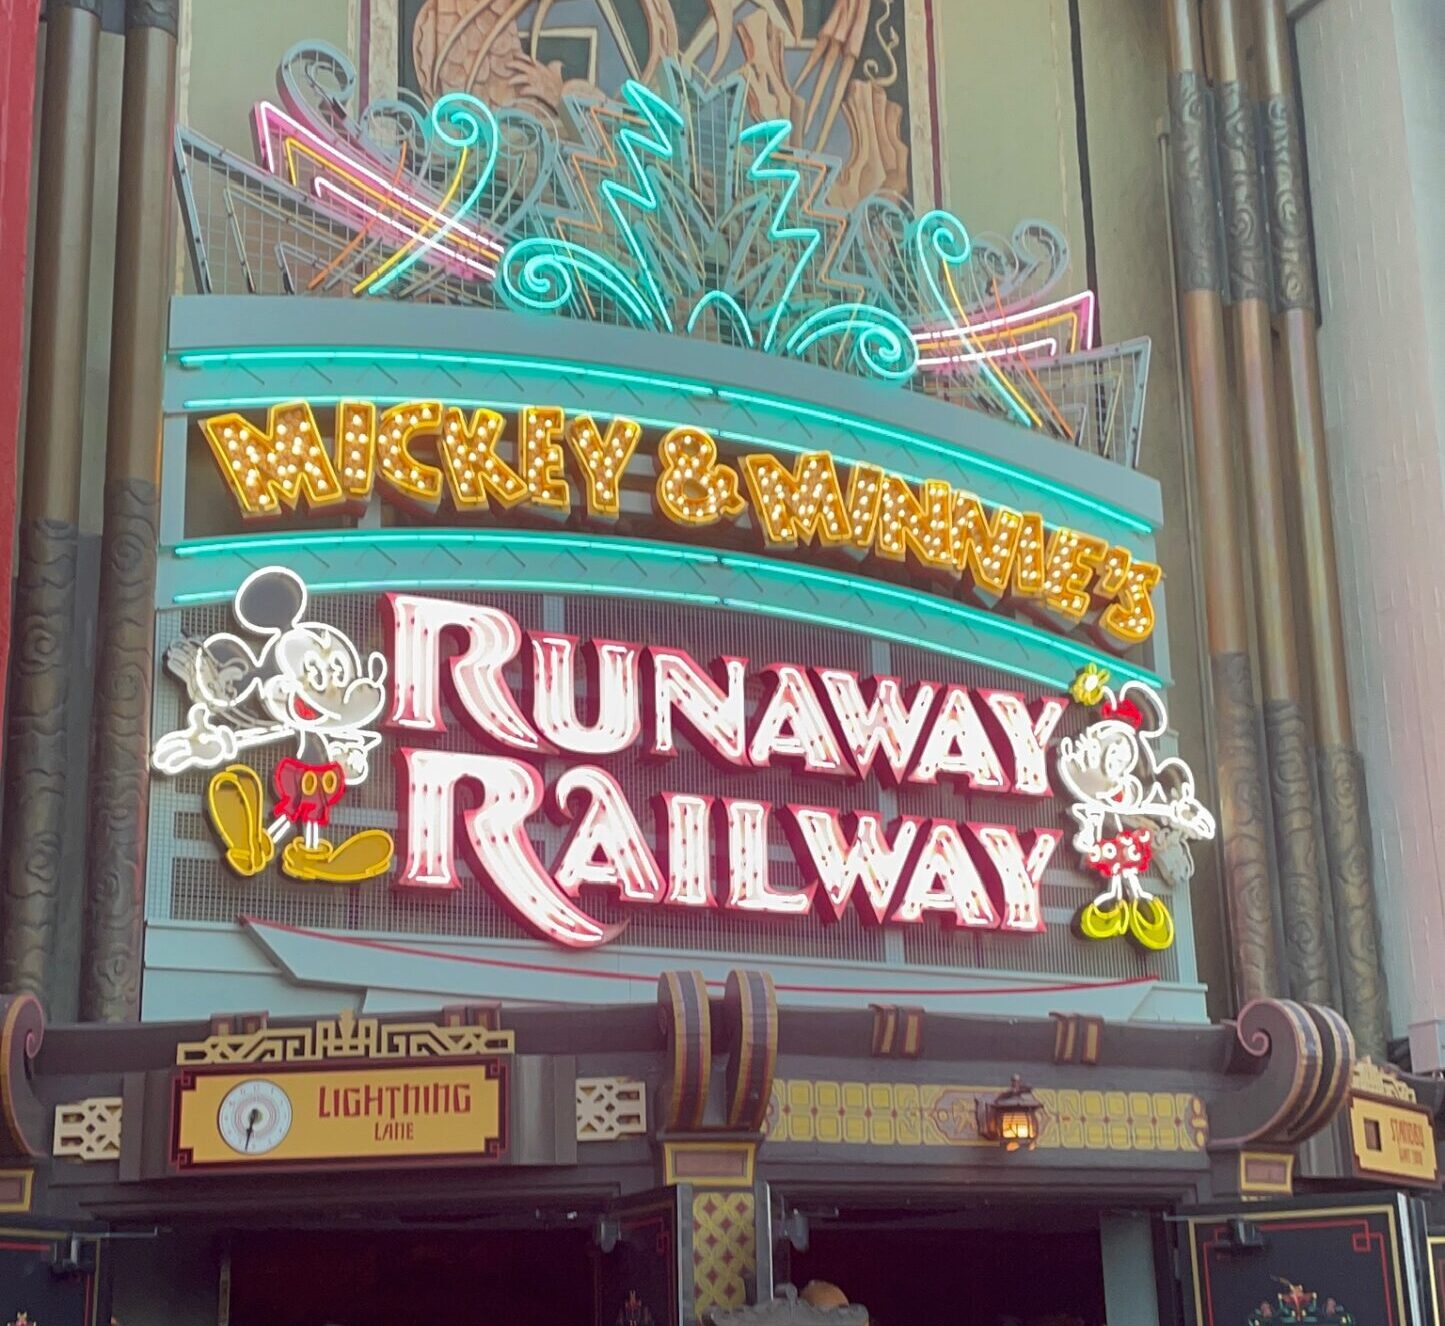
Are you ready to make the most of your Disney experience? Exciting changes are here! Disney has updated their Lightning Lane system, incorporating features from the previous Genie Plus setup. This new approach resembles the original FastPass, allowing you to schedule Lightning Lanes ahead of your trip. Let’s explore how to maximize this system for your upcoming visit!
What is Disney’s Lightning Lane System?
Disney’s Lightning Lane system, formerly known as FastPass, is a paid service that allows guests to skip the standard queues available with admission through a virtual reservation system. While there is still a wait in Lightning Lane queues, it is significantly shorter—usually about 10-15 minutes or less—compared to the standby lines. To access this system, guests must download the My Disney Experience app and create an account. Once your account is linked to your park tickets, you’re ready to book your Lightning Lanes!
Here’s What You Need to Know
Lightning Lanes are now divided into two categories: Multi Pass and Single Pass. The Multi Pass option lets you reserve Lightning Lanes for up to three attractions in advance of your trip. Disney Resort Hotel guests can book at 7 AM EST for the entirety of their trip, seven days in advance, while all other guests can book up to three days in advance of their visit. With the Multi Pass, you can select one top-tier attraction and two second-tier attractions for the day, or all three can come from the second-tier list.
However, not all attractions are available through the Multi Pass option. Some of the most popular attractions at each park can only be accessed by purchasing a Lightning Lane Single Pass, which must be bought separately from the Multi Pass. The cost for these Single Pass attractions varies daily, typically ranging from $12 to $25 per guest per attraction.
Similarly, the cost of the Multi Pass option varies by day and park, generally falling between $15 and $35 per guest per day. Keep in mind that prices fluctuate depending on the season and park, often peaking during holidays at popular parks. When booking your Lightning Lanes, you’ll see the price per guest per day, as well as the available times for each selection. The app also displays any other plans you’ve made for the day, such as dining reservations, to help prevent overbooking. Once you’ve purchased your Multi Pass and/or Single Pass and selected your attractions and times, you’re all set to enjoy your trip!
What Does Using Lightning Lanes Look Like Once You’re in the Park?
Guests can still purchase Disney’s Multi Pass or Single Pass on the day of their visit, depending on availability. Using the Multi Pass through the My Disney Experience app, you can make reservations for specific attractions, typically one ride at a time. As you check the app for available rides and current wait times, you can effectively plan your next moves. When it’s time for your reserved Lightning Lane, head to the designated entrance, usually marked and separate from the regular queue. Here, you’ll scan your Magic Band or park ticket to validate your reservation, granting you access to a shorter wait time!
After enjoying the ride, you can make a new Lightning Lane reservation for any available Multi Pass attraction. While planning in advance is fantastic, flexibility is key—plans can change! Therefore, you can easily cancel or modify your pass in the app, depending on availability.
Have a magical trip!
With these insights into Disney’s Lightning Lane system, you’re well-equipped to navigate the parks with ease. By planning ahead and taking advantage of the available options, you can maximize your time and enjoy a magical experience. Let me know if you have any questions down below!
Using magic to bring us together,
Peyton

